How to Build the Perfect Home Obstacle Course for Training
6 April 2025
Have you ever watched an obstacle course race on TV and thought, "I could do that!"? Or maybe you're looking for a way to spice up your workout routine at home. Whatever the reason, building your own home obstacle course is not only fun, but it's also an effective way to improve your overall fitness, agility, and strength. Plus, it’s a great way to challenge yourself without stepping foot in a gym.
But how exactly do you build the perfect home obstacle course for training? Don’t worry! I’ve got your back. This guide will walk you through the essential steps, considerations, and tips for creating a challenging, yet enjoyable, obstacle course right in your backyard (or even inside your home if you're tight on space). Let’s dive in!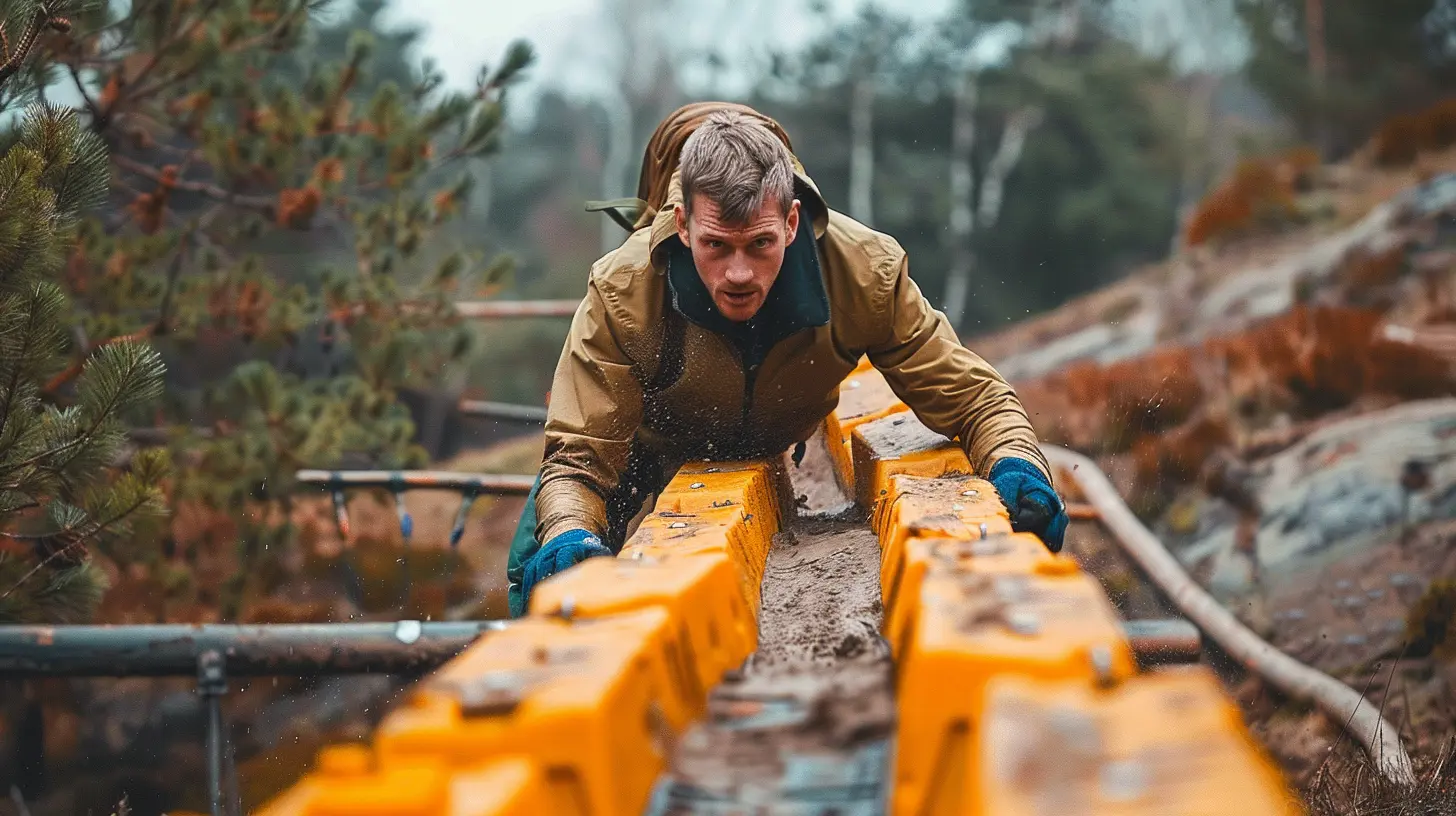
Why Build a Home Obstacle Course?
Before we get into the nitty-gritty of building your own obstacle course, let’s talk about why you should even consider this in the first place. The benefits are huge:- Full-body workout: Obstacle courses engage all muscle groups. You’ll be pushing, pulling, climbing, and crawling—working muscles you didn’t even know existed!
- Improves agility and coordination: Navigating through obstacles improves your reaction time, balance, and coordination.
- Fun for the whole family: Whether you’re training for an event or just looking for a fun way to stay active, obstacle courses are great for people of all ages.
- Boost mental toughness: The mental challenge of overcoming each obstacle can help build resilience and mental fortitude.
A Versatile Training Tool
Whether you're preparing for a mud run, a Spartan race, or just want to switch up your fitness routine, a home obstacle course can be tailored to your goals and fitness level. You can make it as easy or as difficult as you’d like. The beauty is in the flexibility. Ready to get started?
Step 1: Plan Your Space
The first thing to consider when building your home obstacle course is how much space you have. Do you have a large backyard or are you working inside a small apartment? The amount of available space will dictate the type of obstacles you can include.Outdoor Courses:
- Backyards/Driveways: If you’ve got a backyard or driveway, you’re in luck! You can create a sprawling course with different sections.- Parks: If space at home is limited, consider heading to a local park with some open space.
Indoor Courses:
- Living Room/Hallway: Even if you're indoors, you can still create a compact obstacle course using furniture and household items.- Garage/Basement: These areas can offer a bit more flexibility, and you can even create a semi-permanent setup if you have room.
Tip: Measure your available space before getting started. You'll want to ensure there’s enough room to move freely without bumping into anything.
Step 2: Choose Your Obstacles
Now comes the fun part—choosing the obstacles! Depending on your fitness level, goals, and available space, you can create a variety of challenges that mimic professional obstacle courses or keep things simple.1. Slalom or Zigzag Run
- What it is: A series of cones or markers that you weave through as quickly as possible.- How to build: Use traffic cones, sticks, or even water bottles as markers. Space them 3-4 feet apart for a good challenge.
- What it works: Speed, agility, and coordination.
2. Tire Flip (or Heavy Object Flip)
- What it is: Flip a heavy object across a distance.- How to build: If you don’t have an old tire, use a heavy object like a sandbag, a large weighted ball, or even a heavy bucket filled with water or sand.
- What it works: Upper body strength, core, and endurance.
3. Crawl Under/Climb Over
- What it is: Crawl under a low-hanging obstacle or climb over a high one.- How to build: For the crawl, string a rope or use a broomstick between two chairs. For the climb, use a sturdy table or a stack of boxes. Ensure it’s safe and stable!
- What it works: Flexibility, core strength, and coordination.
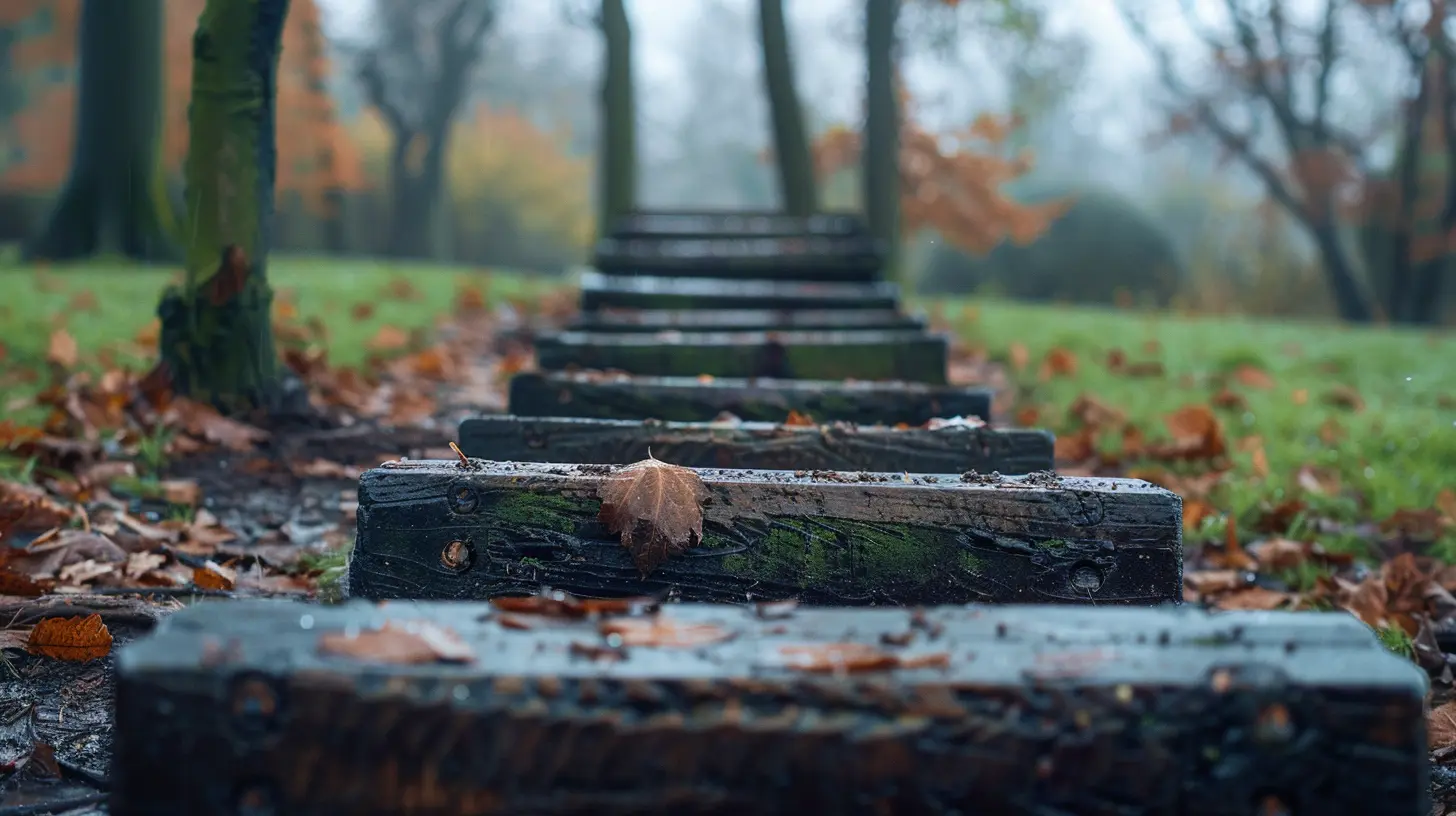
4. Balance Beam
- What it is: Walk across a narrow beam without falling off.- How to build: Use a 2x4 wooden plank, a rolled-up yoga mat, or even a line of tape on the ground. The goal is to maintain balance.
- What it works: Balance, core strength, and focus.
5. Rope Climb or Pull-Up Station
- What it is: Climb a rope or perform pull-ups on a sturdy bar.- How to build: If you don’t have a rope, a pull-up bar is a great alternative. You can find affordable ones that attach to door frames.
- What it works: Upper body strength, grip strength, and endurance.
6. Jumping Station (Box Jumps or Long Jumps)
- What it is: Jump onto or over a raised surface.- How to build: Use a sturdy wooden box, a bench, or even a stack of books. Make sure whatever you're jumping onto is secure and stable.
- What it works: Lower body strength, power, and explosiveness.
7. Carry Station (Farmer’s Walk)
- What it is: Carry a heavy object (like a kettlebell or a filled bucket) over a set distance.- How to build: Use dumbbells, water jugs, or any heavy object you can comfortably carry.
- What it works: Grip strength, arm strength, and endurance.
8. Wall or Fence Climb
- What it is: Climb over a wall or fence.- How to build: If you have a backyard fence, this can be a perfect obstacle. No fence? Consider a tall, sturdy table or stack of boxes.
- What it works: Upper body strength, lower body strength, and balance.
Step 3: Set Up and Test the Course
Once you’ve chosen your obstacles, it’s time to set them up. Arrange them in a way that flows naturally but also challenges you. For example, you could alternate between upper body and lower body obstacles to give certain muscle groups time to rest.Layout Tips:
- Space it out: Ensure that there’s enough space between obstacles for safe movement. You don’t want to trip over one obstacle while tackling another.- Test everything: Before doing a full run-through, test each obstacle to make sure it’s safe and achievable.
- Create a circuit: Set the course up in a loop so you can keep moving without stopping. This will maximize the cardio benefits.
Step 4: Time Yourself and Track Progress
One of the biggest benefits of an obstacle course is that you can track your progress over time. Time yourself as you go through the course, and see if you can beat your previous times.Challenge Yourself:
- Add a timer: This will push you to complete the course as quickly as possible.- Increase difficulty: Once you get the hang of it, add more challenges like extra weight or more complex obstacles.
- Incorporate intervals: Sprint between obstacles to add a cardio element.
Step 5: Safety First!
While obstacle courses are a blast, safety should always come first. Here are some tips to keep in mind:- Warm up: Make sure you stretch and warm up your muscles before diving into the course.
- Secure obstacles: Make sure all obstacles are stable and won’t tip over or collapse.
- Stay hydrated: Obstacle courses can be physically demanding, so keep a water bottle nearby.
- Know your limits: It’s great to challenge yourself, but don’t push too hard. If something feels unsafe or too difficult, modify it.
Final Thoughts
Building the perfect home obstacle course for training is more than just a fun weekend project—it’s an exciting way to stay fit and engaged with your workouts. With just a few household items and a bit of creativity, you can challenge yourself in ways that a treadmill or stationary bike simply can’t.Remember, the most important thing is to have fun with it. Adjust the difficulty as you go, mix up the obstacles, and keep things fresh. Who knows? You might just find yourself running a Spartan Race or Tough Mudder in no time. Time to get moving!
all images in this post were generated using AI tools
Category:
Extreme SportsAuthor:

Uziel Franco
Discussion
rate this article
7 comments
Yazmin McMaster
Great tips! A home obstacle course is a fun way to enhance training and build skills.
April 19, 2025 at 7:06 PM
Uziel Franco
Thank you! I'm glad you found the tips helpful. A home obstacle course can truly enhance training and make it enjoyable!
Heather Luna
Great tips! Can't wait to try building my own obstacle course at home!
April 16, 2025 at 2:47 AM
Uziel Franco
Thanks! I'm excited for you to try it out—have fun building your course!
Riff Cummings
Building a home obstacle course transcends mere fitness; it fosters resilience, creativity, and adaptability. Each challenge mirrors life’s unpredictability, urging us to embrace discomfort. In crafting our own hurdles, we not only strengthen our bodies but also cultivate a warrior spirit.
April 13, 2025 at 12:25 PM
Uziel Franco
Thank you for your insightful comment! I completely agree—creating an obstacle course at home not only enhances physical fitness but also nurtures valuable life skills like resilience and adaptability. Embracing these challenges truly builds both strength and character.
Zelda Brooks
Great article! Building a home obstacle course sounds like a fun and creative way to boost training. Can't wait to try out some of these ideas!
April 12, 2025 at 4:30 AM
Uziel Franco
Thank you! I'm glad you found the ideas inspiring. Have fun building your course!
Leona Wheeler
Creating a home obstacle course blends creativity and fitness. Focus on diverse challenges to keep training fun and engaging, fostering both skill and resilience in athletes.
April 8, 2025 at 10:41 AM
Uziel Franco
Thank you! I agree—diversity in challenges not only enhances creativity but also keeps workouts exciting and effective for skill development.
Soraya Lozano
Love this idea! Turning my backyard into a mini adventure zone sounds like the perfect way to mix up training while having fun. Who knew home workouts could feel like playtime? Can’t wait to unleash my inner ninja! 🏃♂️💪
April 8, 2025 at 2:33 AM
Uziel Franco
Thanks! Embracing the fun side of training can make all the difference. Enjoy your adventure zone and unleash that inner ninja! 🥷✨
Wynter McVicker
Great insights on creating a home obstacle course! I love the idea of using everyday items for training. This approach not only makes workouts fun but also engages creativity. Looking forward to trying some of these suggestions in my routine!
April 7, 2025 at 4:52 AM
Uziel Franco
Thank you for your enthusiasm! I'm glad you found the ideas inspiring. Have fun building your course!
MORE POSTS
![The Ultimate Competitor: How [Player Name] Thrives Under Pressure](/pictures/blog/small/the-ultimate-competitor-how-player-name-thrives-under-pressure_2.webp)
The Ultimate Competitor: How [Player Name] Thrives Under Pressure

Tech Gear That Can Boost Your Endurance Training

The Biggest Surprises from the Postseason Opener of 2026

Behind the Scenes: How All-Star Games Bring Fans Closer to the Action

Breaking Down the Top Fantasy Baseball Outfielders
![The Magic of [Player Name]: How They Turn Every Game into a Masterpiece](/pictures/blog/small/the-magic-of-player-name-how-they-turn-every-game-into-a-masterpiece_2.webp)
The Magic of [Player Name]: How They Turn Every Game into a Masterpiece